The West Coast of the United States has some of the most beautiful and diverse landscapes in the world. With so many National Parks, it’s a perfect part of the country to go on an epic road trip! There are countless options for planning routes and destinations.
My wife Emily and I were fortunate enough to be able to visit the West Coast for 3 weeks, which ended up being the perfect amount of time. I have detailed our amazing West Coast Road Trip itinerary to help you plan your next adventure.
Detailed Itinerary
- Days 1-6 – Washington
- North Cascades National Park
- Olympic National Park
- Days 6-13 – Oregon
- Cannon Beach
- Lincoln City
- Crater Lake National Park
- Days 13-16 – California
- Yosemite National Park
- Days 16-21 – Utah
- Zion National Park
- Bryce Canyon National Park
- Arches National Park

Day 1 – Fly into Seattle, Drive to North Cascades
We decided to fly into Seattle, Washington and rent a car. After arriving in Seattle, we drove two hours to our Airbnb in Rockport, Washington in the North Cascades. The town is a good central location for visiting several trails and landmarks in North Cascades National Park. The Airbnb we stayed at was an amazing 1920s train station turned into a house. It is called the Skagit Steelhead House.
Day 2 – Visit Diablo Lake and Hike Ross Lake Dam
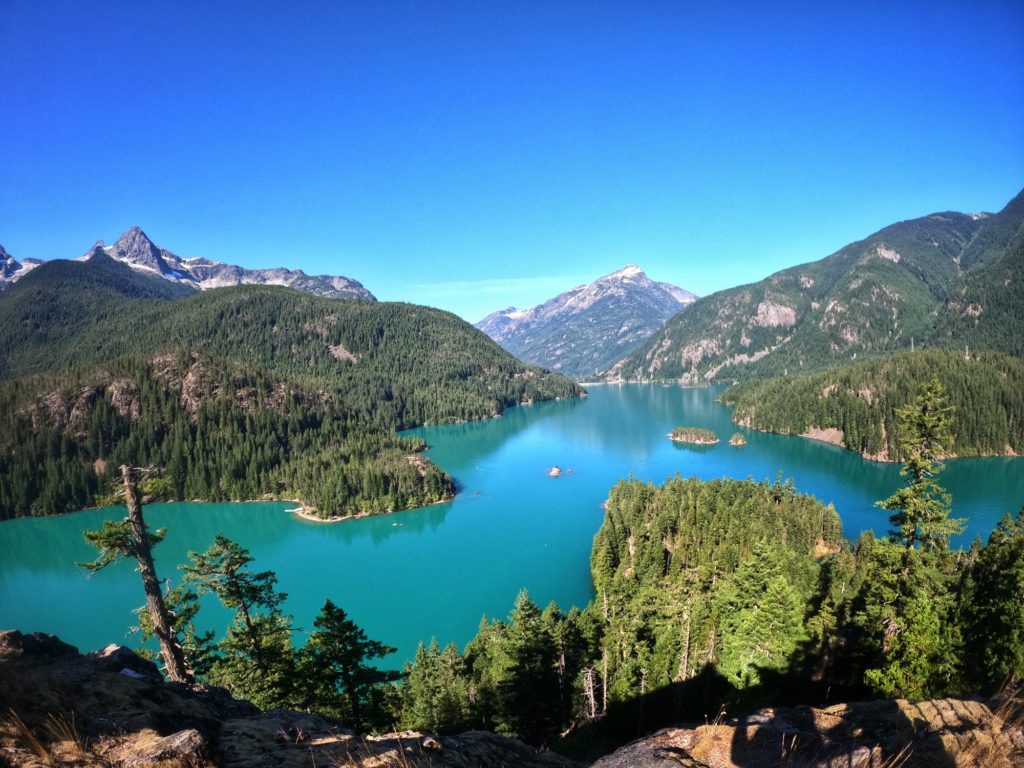
On your first full day in the North Cascades, head to Diablo Lake. It is about a 40 minute drive from Rockport on Hwy 20. There are several hikes along the lake as well as many viewpoints to pull over your car to see. We drove around to a few of the viewpoints and then had lunch down by the water.
After Diablo Lake, you can head over to Ross Lake Dam and hike the Ross Dam Trail. The trail actually starts elevated and you hike down. Keep this in mind as it will be a tough hike back up to your car!


Day 3 – Hike the Lake 22 Trail
The Lake 22 Trail is one of the most popular hikes in Washington and for good reason. This 6 mile out and back hike is trekked through a mountain rain forest and ends at an alpine lake. The views and variation of landscapes are incredible. I would plan on this hike being the only activity for the day as the drive from Rockport was 90 minutes and the hike itself takes a few hours. The Lake 22 Trail is a MUST visit though!


Day 4 – Drive to Olympic National Park, Stay in Port Angeles
After experiencing the North Cascades, you will want to drive to Olympic National Park for the next 3 days. It is about a 3-4 hour drive depending on traffic so get an early start to the day! When visiting Olympic, I recommend staying in the city of Port Angeles. It is a great central location and has a lot of restaurants and shops.
If you are able to get to Olympic National Park early enough in the day, head to Third Beach to catch the sunset! It is about a 1 hour drive. We actually found it by accident while trying to find another beach. It ended up being an amazing mistake because it was one of the coolest beaches on the coast! Keep in mind that it is a 1 mile hike to get to the beach but the trail is very easy.


Day 5 – Visit Hoh Rain Forest and Ruby Beach
The Hoh Rain Forest is one of the staples of Olympic National Park. This temperate rain forest attracts millions of people per year because of the its unique climate. It is definitely strange visiting a rain forest in a relatively cool climate. I recommend doing the Hall of Mosses Trail which is great for all levels of hikers. The trees are covered with huge clumps of moss and ferns. The park is best visited when it is rainy because the moss is the most green and dense.


After you have hiked around the Hoh Rain Forest for a bit, head over to Ruby Beach for the rest of the day. Ruby Beach’s sea stacks and tide pools make it one of the most iconic beaches in the USA. I recommend packing a lunch and drinks and just hanging out there for the day. This was one of our favorite places on the trip.


Day 6 – Drive to Cannon Beach, Oregon
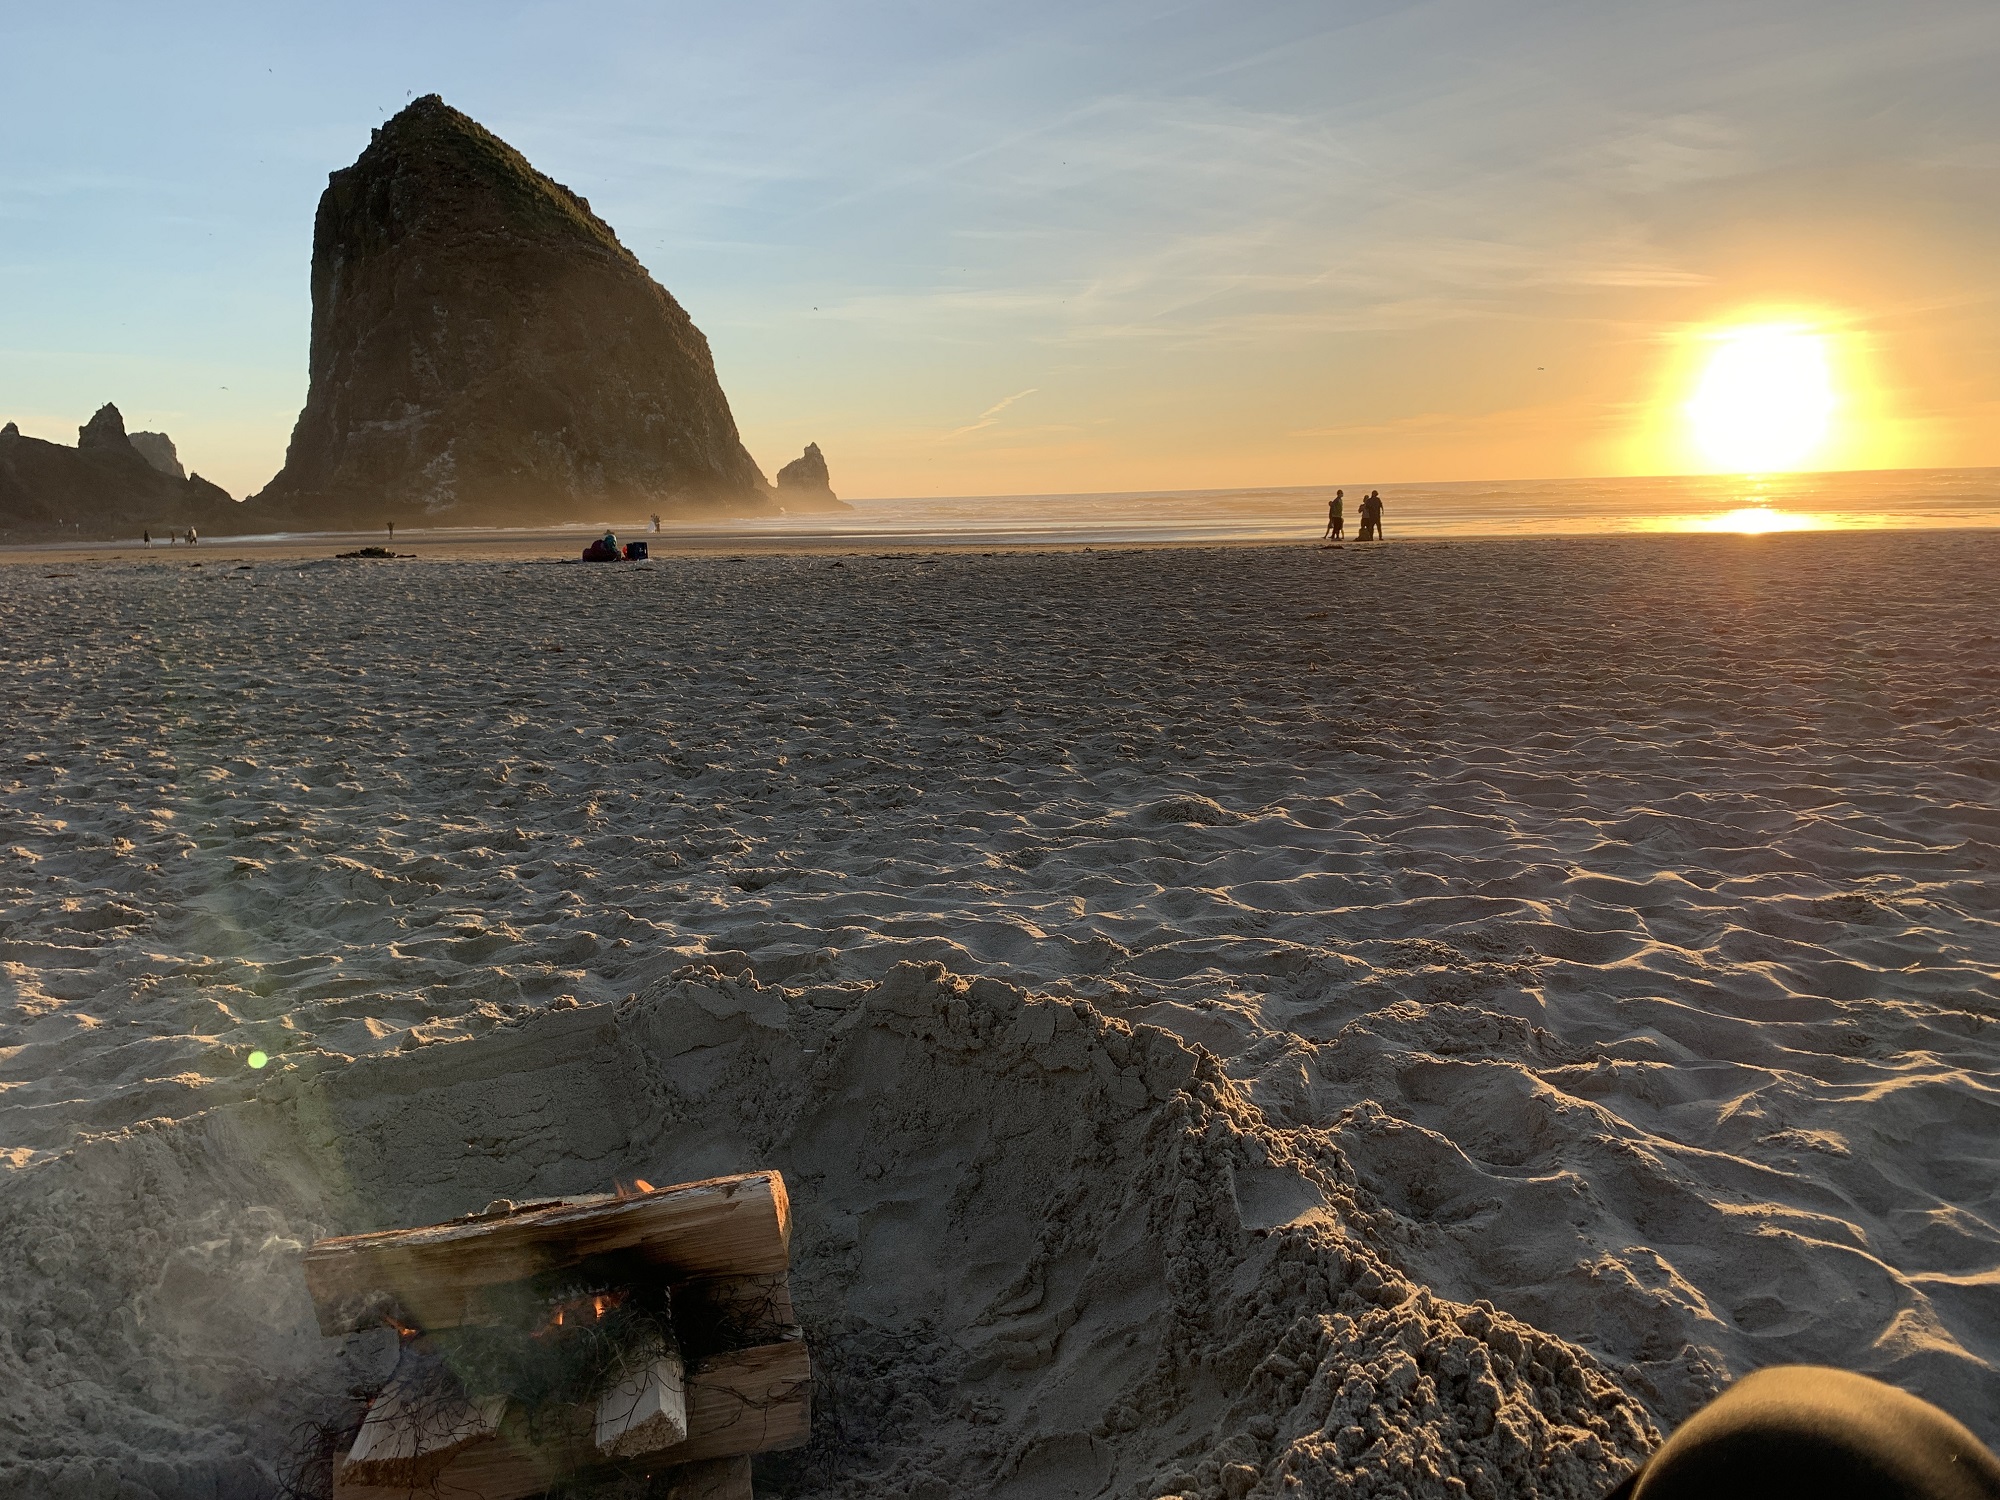
It will be a 5 hour drive from Port Angeles to Cannon Beach, Oregon so I would get an early start to the day if possible. We spent 2 days in Cannon Beach and just relaxed the entire time. This is the perfect location to have a break in the trip to rest and recover. I recommend staying at the Hallmark Resort Cannon Beach because it is right on the beach and right next to all the bars and restaurants. You can also buy firewood and a fire starter kit to make a campfire on the beach at sunset!
Day 7 – Cannon Beach


Day 7 will just be a day of pure relaxation with the amazing views at Cannon Beach. Make sure to stop by Pelican Brewing for lunch. Their beer and food are both AMAZING! Then for the evening order a pizza, pickup some wine, and make a campfire on the beach. We were glad we added this part of the trip because it definitely gave us a rebound of energy after all the previous hiking.
Day 8 – Drive to Lincoln City, Oregon
After your rest and recover at Cannon Beach, you can head further down the Oregon Coast for the next 3 days. This part of the trip is up to you on where you stay. We stayed in Lincoln City but you could also stay in Depoe Bay or Newport. All of these cities are close to each other and in great locations. We landed on Lincoln City because the Airbnb’s were slightly cheaper. For reference, Lincoln City and Newport have long sand beaches, and Depoe Bay has big dramatic cliffs.
Day 9 – Whale Watching at Depoe Bay
Depoe Bay is famous for its dramatic ocean cliffs and is also the whale watching capital of Oregon! It is a feeding ground for gray whales almost year round. We were able to go on a private whale watching tour through Whales Tail Depoe Bay. This tour is highly recommended as seeing the whales in person is amazing! If you get sea sick make sure you take some motion sickness medication before you go. The ocean swells get pretty bumpy.


After the whale watching tour, spend the rest of the day exploring the surrounding coastline. Head on over the Newport, Oregon to get lunch and a beer at the Newport Brewery Company. I would also recommend visiting Devil’s Punchbowl and to watch all the surfers! The drive along the Oregon Coast has plenty of stops so this really can be a free day to explore.


Day 10 – Hike to God’s Thumb
After several days of rest from hiking, it is time to get back to it. The God’s Thumb Trail near Lincoln City, Oregon was one of our favorites. This 4 mile out and back hike starts in thick, green forest and ends with insanely beautiful views overlooking oceanside cliffs from “God’s Thumb”. The hike is moderate in difficulty and is a must if you are on the Oregon Coast.


Day 11 – Drive to Crater Lake National Park
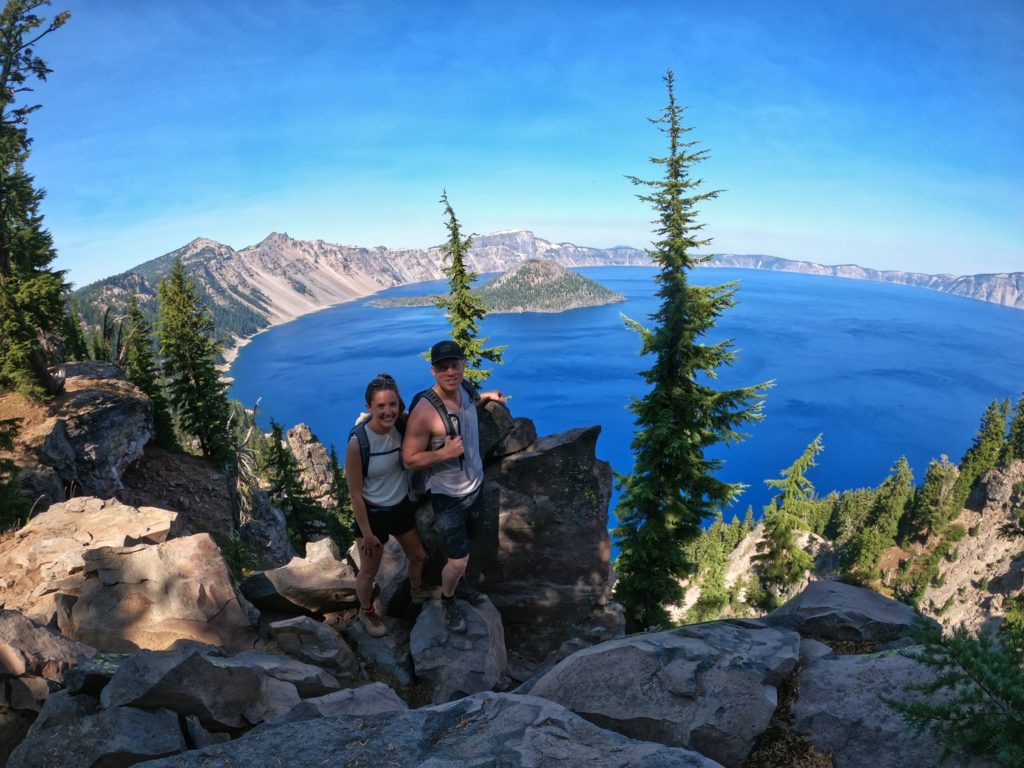
After the Oregon Coast you are going to drive inland to Crater Lake National Park. It is around a 4-5 hour drive to the park so once again I recommend getting an early start to the day. Crater Lake is a sleeping volcano that erupted 7,700 years ago. The eruption triggered the collapse of the volcano, creating the deepest lake in the USA. The water in the lake is so blue and clear because it is filled from fresh rain and snowfall.
Once you arrive in Crater Lake you will find plenty of areas to park your car and hike. The Crater Lake Rim Trail goes around most of the lake and is the best way to take in all the amazing views. This is a place that you must see in person as the pictures don’t even begin to do it justice.
If you plan on camping, there are plenty of campgrounds in the area to stay at. If you like to stay in comfort you may need to drive a bit. I recommend staying in Bend, Oregon. It is an awesome city with many restaurants and breweries and all around good vibes! It is a 90 minute drive from Crater Lake.
Day 12 – Crater Lake National Park
On your second day at Crater Lake you’ll want to do the Cleetwood Cove Trail. It is the only trail that goes down to the bottom of Crater Lake and is made up of dusty switchbacks. The way down is easy, going back up is TOUGH! This trail is a MUST as you will get to swim in the most clear blue water you have ever seen. There are also spots that you can watch the cliff jumpers, or even cliff jump yourself (which I had to do)!
Pack a lunch and plan on spending a couple of hours swimming and hanging out. I would go early in the day as it is the most popular trail at the park and parking is limited. After swimming and hiking, head back to Bend and enjoy a night out for your last night in Oregon!


Day 13 – Drive to Yosemite National Park in California
Now its time to head to Yosemite National Park! Day 13 is going to be purely a travel day as the drive is very long. It should take you about 9-10 hours from Oregon. The drive is pretty scenic so it goes by quicker than you would think. Make sure to pack a lot of snacks!
Outside of camping, finding budget accommodation in Yosemite is difficult because it is one of the most popular National Parks in the USA. This is where we decided to splurge a bit. We stayed at Autocamp Yosemite which offers lodging in modern Airstream suites. It takes “glamping” to a whole new level. They also have an amazing store and clubhouse to hangout and get supplies as well as a pool!


Day 14-15 – Explore Yosemite Valley in Yosemite National Park


The drive through Yosemite is so incredible that you could literally just pull over and explore anywhere. On the first day we decided to explore Yosemite Valley which is the main area of the park where the Visitor Center is also located. The Valley Loop Trail is an easy trail that gives you plenty of views of the incredible mountains.
While it was beautiful to visit on our first day, this was the only part of our trip that didn’t go as planned. We happened to be in Yosemite at the same time the California Wildfires were happening. On the second day, the whole park was filled with clouds of smoke so we just hung out at Autocamp all day hoping it would clear up. It never did.
We were hoping to do the amazing Half Dome Trail and Vernal Falls Trail but the park closed most of the trails due to the smoke. We decided to cut our losses and just head to the next destination. So we definitely will be going back!


Day 16 – Drive to Zion National Park in Utah
After Yosemite you will have another long driving day to Zion National Park in Utah. The drive is just under 10 hours. If you would like to break it up, you can always spend a night in Las Vegas because you will be driving right through it!
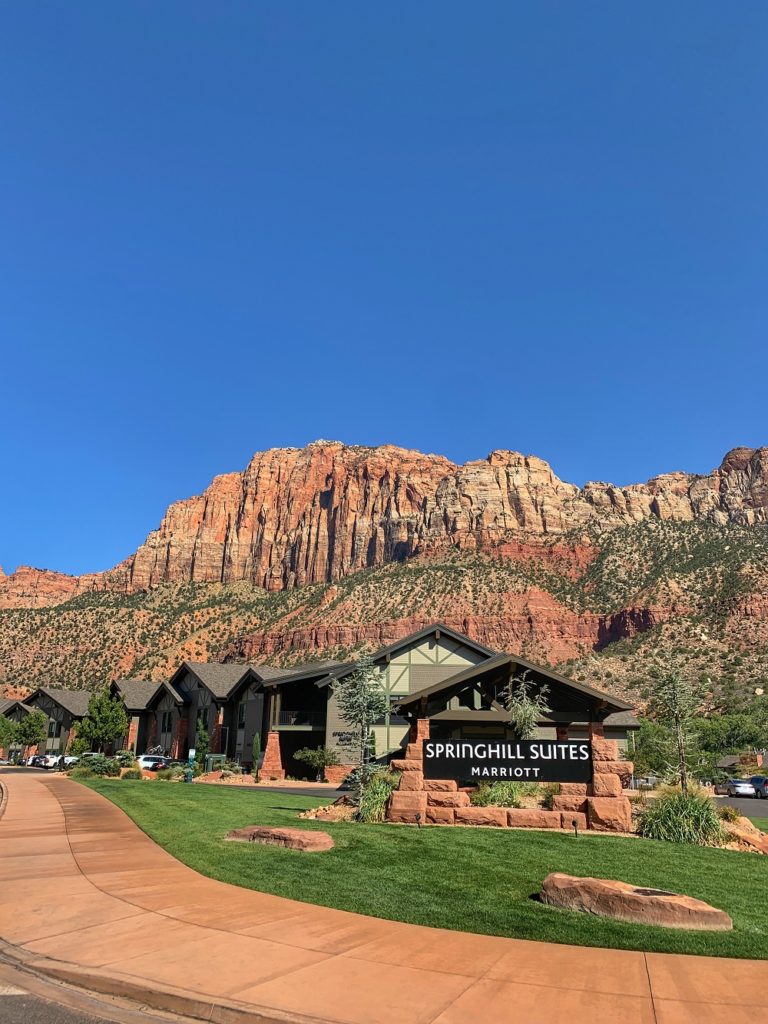
You will want to stay in town of Springdale, Utah which is just outside the Zion National Park entrance. There are plenty of Airbnb’s and Hotels in the area to choose from. Springdale also has a free shuttle service that will bring you to the park entrance from your hotel! We landed on the Springhill Suites by Marriott which was in a perfect location near restaurants and bars.
Day 17 – Hike Angel’s Landing


Angel’s Landing is the iconic hike that everyone must do at least once when visiting Zion National Park. The trail is 4 miles out and back with several difficult switchbacks. I would recommend doing this hike in the morning if possible because if gets very hot in the afternoon with almost no shade. The last 0.5 mile of the trail follows a steep and narrow trail that you must hold onto chains. If you are scared of heights I would stop before the chains start at Scout’s Lookout.
One mistake people often make is forgetting to buy shuttle tickets. The northern part of Zion can only be reached by shuttle and they sell out quickly. If you are unable to take the shuttle then you have just added a few miles to your hike! For shuttle ticket information and to purchase go to www.recreation.gov. Keep in mind that the shuttle is required for most hikes that are off the Zion Scenic Drive road.
After this long and difficult hike, make sure to stop by the Zion Canyon Brew Pub for food and a beer. It is located right near the Visitor Center where the shuttle brings you back to.
Day 18 – Explore East Zion National Park


The East side of Zion National Park is accessed via Utah State Route 9 and no shuttle is required. There are countless trails, slot canyons, rocks to climb, and ancient ruins. Big Horn Sheep are also prevalent in East Zion and you see them everywhere! One of the best parts of East Zion is many of the trails are unmarked and you need to almost figure it our yourself to find it. There are also awesome rocks and cliffs around every turn that you can just pull over and climb. Make sure to download maps before going because there is no cell service.
Our favorite hike was the Petroglyph Pools to Slot Canyon. The highlight of the trail is finding these 7,000 year old Petroglyphs that were made by Ancestral Puebloans. It is like staring into a time capsule! We also went off the beaten path and climbed through slot canyons. East Zion often goes overlooked but you need to spend at least one full day on this side of the park.


Day 19 – Hike The Narrows
On your final day in Zion National Park, you will want to hike The Narrows. The Narrows is the narrowest section of Zion Canyon with high rock walls and river that runs through. Hiking through The Narrows requires hiking through the Virgin River most of the time. Make sure you rent water hiking shoes and walking sticks from Zion Outfitter at the Visitor Center before getting on the shuttle. DO NOT FORGET THE WALKING STICK! Many people forget this part and end up spraining ankles and falling in the river. The stick helps keep you balanced walking through the uneven river rocks.
The Narrows is the last stop on the shuttle and the hike starts on a 1 mile trail before reaching the river where you will trek through the water. The beginning part of the river gets very crowded but there are far less people the farther you hike.


Day 20 – Bryce Canyon National Park and Moab, Utah
Leaving Zion National Park, you will head east to Moab, Utah for the final 2 days. On the way you will stop at Bryce Canyon National Park which is only a 1 hour drive from Zion. The views are incredible and Bryce Canyon is a must see, even if only for an hour or two.
After Bryce Canyon you can continue on the road to Moab, Utah. This will be about another 3 hour drive. If you are looking for a place to stay in Moab then I highly recommend the Springhill Suites by Marriott. They have an awesome outdoor pool and its close to many restaurants.


Day 21 – Arches National Park and DeadHorse Point State Park


On the final full day, head over to Arches National Park. There are numerous hikes and viewpoints but I recommend the Delicate Arch Trail. It is a 3.5 mile out and back hike that is moderate in difficulty. The reward comes at the end when you see the giant naturally formed Arch. If you are looking for something easy, you can hike the Windows Loop which is only 1 mile and fairly flat.
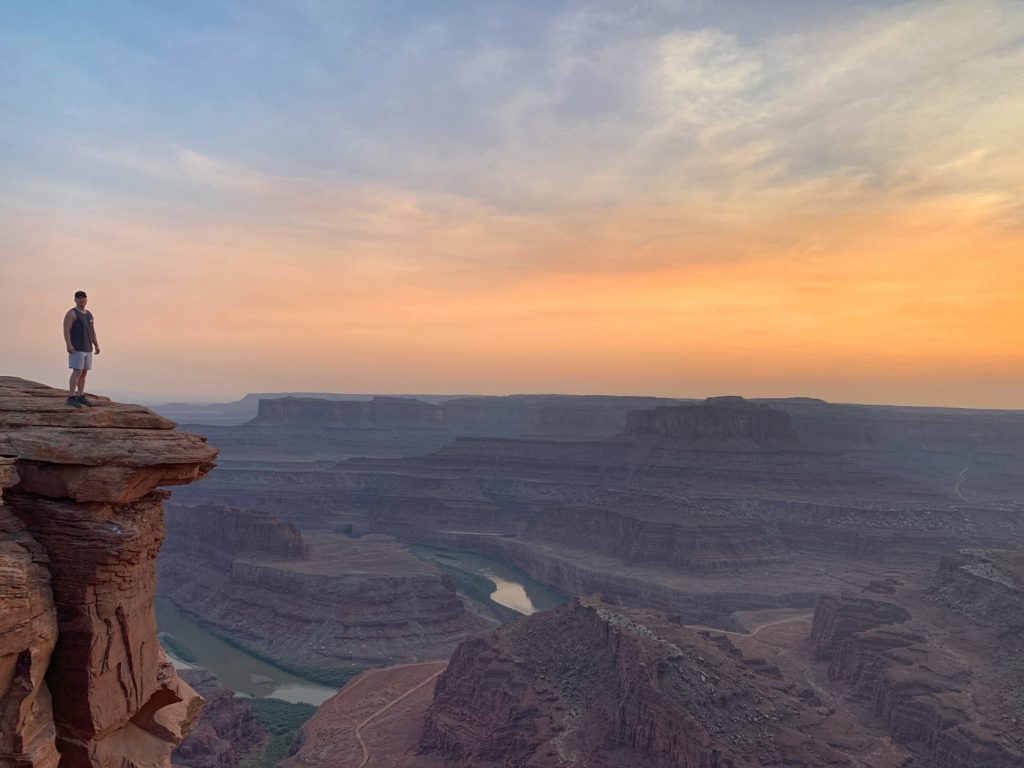
At the end of the day we decided to grab some pizzas and watch the sunset from Deadhorse Point State Park. The views of the canyons are amazing and stretch for miles. Deadhorse Point State Park is not as popular as Arches National Park and Canyonlands National Park so the crowds were very small. It is a perfect way to end the trip!
For the return home you can either fly out of Salt Lake City, Utah or drive. We decided to drive home because of all the items we accumulated in our car throughout the trip. Overall it was an epic trip and I also have the Youtube hightlight below. Check it out!
